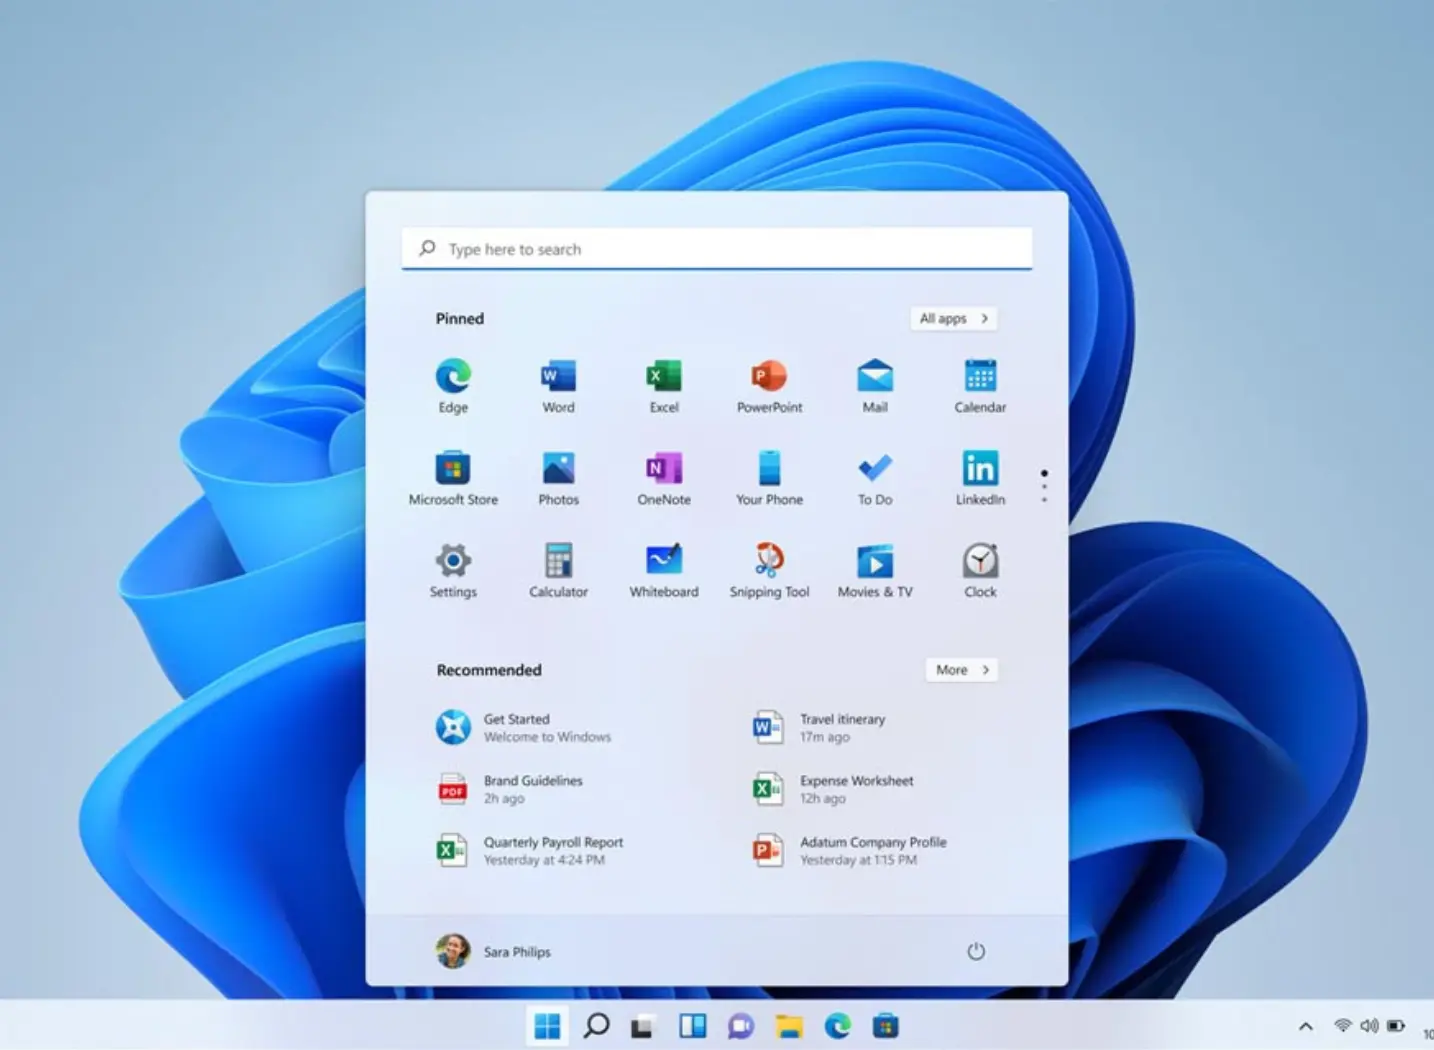
In this comprehensive guide, we’ll walk you through the process of installing Windows 11 Home OEM edition on your device. Whether you’re upgrading from a previous version of Windows or installing it on a new system, this step-by-step guide will ensure a smooth installation process.
Check System Requirements
Before proceeding with the installation, it’s essential to ensure that your system meets the minimum requirements for running Windows 11 Home OEM edition. These requirements include a compatible processor, sufficient RAM, and available storage space. You can find detailed system requirements on the official Microsoft website.
Backup Your Data
It’s always a good practice to back up your important data before performing any major system changes. While installing Windows 11 Home OEM shouldn’t cause data loss, it’s better to be safe than sorry. Backup your files to an external drive or cloud storage to avoid any potential loss.
Obtain Windows 11 Home OEM
If you haven’t already, you’ll need to acquire a legitimate copy of Windows 11 Home OEM edition. You can purchase it from authorized retailers or online stores like Keyzing, where you can find special deals and discounts.
Create Installation Media
Once you have the Windows 11 Home OEM installation files, you’ll need to create installation media. This can be done using a USB flash drive or a DVD. Microsoft provides a tool called the Media Creation Tool, which simplifies the process of creating installation media.
Boot from Installation Media
Insert the installation media into your computer and restart it. You may need to change the boot order in the BIOS settings to prioritize booting from the installation media. Follow the on-screen instructions to begin the installation process.
Follow Installation Prompts
Once the installation process begins, you’ll be guided through a series of prompts to configure your preferences and settings. Make sure to read each prompt carefully and select the appropriate options based on your preferences.
How to Install Windows 11 Home OEM Activate Windows
After the installation is complete, you’ll need to activate Windows 11 Home OEM edition using a valid product key. If you purchased a retail copy, the product key should be included in the packaging. If you obtained a digital license, you can activate Windows using the activation wizard.
Install Updates
After activating Windows, it’s crucial to install any available updates to ensure that your system is up to date with the latest security patches and features. You can check for updates in the Windows Update settings menu.
By following these steps, you can successfully install Windows 11 Home OEM edition on your device and enjoy its enhanced features and functionalities. Don’t forget to take advantage of special deals and discounts on Windows 11 Home OEM at Keyzing for a cost-effective solution to your operating system needs.